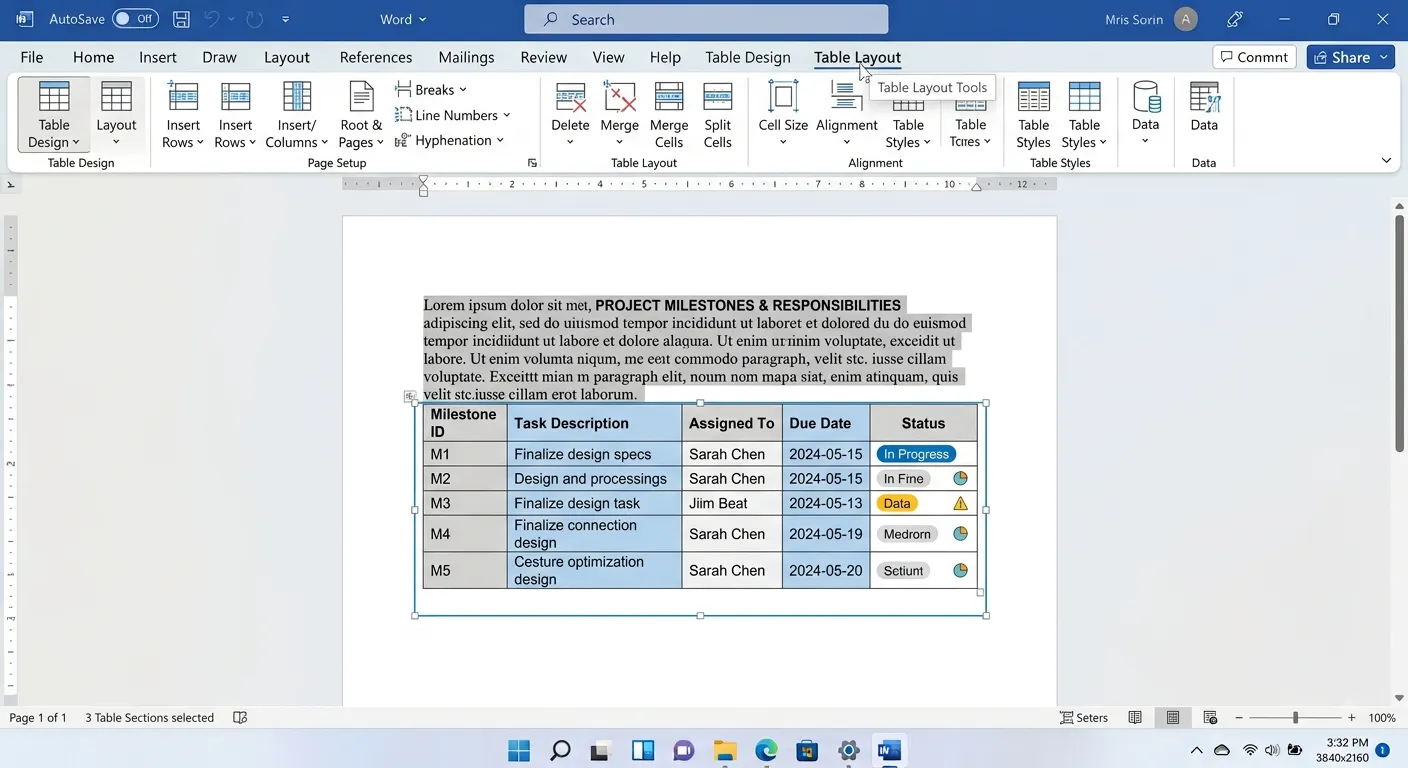
Working with Tables
Tables are one of the most useful features of Microsoft Word. They organize information into rows and columns, making data easy to read, compare and present professionally. Tables are commonly used in reports, invoices, timetables, mark sheets, attendance records and business documents.
What is a Table?
A table is a collection of rows and columns that intersect to form cells. Each cell can contain text, numbers, images or other objects. Microsoft Word provides powerful tools to create, edit and format tables for professional documents.
Rows
Horizontal arrangement of cells inside a table.
Columns
Vertical arrangement of cells inside a table.
Cells
The intersection of rows and columns where information is entered.
Data
Store text, numbers, formulas and images inside table cells.
Creating a Table
Microsoft Word provides several methods to create tables. The easiest method is by using the Insert → Table command.
| Method | Description |
|---|---|
| Insert Table | Create a table by selecting the required number of rows and columns. |
| Draw Table | Draw custom table borders manually. |
| Quick Tables | Insert ready-made table templates. |
| Convert Text | Convert existing text into a table. |
1. Open the Insert tab.

2. Click Table.

3. Select the required
number of Rows and Columns.

4. Click to insert the table.

5. Enter the required data.

6. Save the document.
Rows, Columns and Cells
Every table is made up of rows, columns and cells. Understanding these components makes it easier to organize and edit information inside a table.
Row
A horizontal collection of cells.
Column
A vertical collection of cells.
Cell
A single box where text or data is entered.
Active Cell
The currently selected cell where typing begins.
| Component | Purpose |
|---|---|
| Row | Displays related information horizontally. |
| Column | Displays related information vertically. |
| Cell | Stores individual text, numbers or images. |
| Table | Organizes structured information. |
Inserting and Deleting Rows & Columns
Microsoft Word allows users to quickly add or remove rows and columns without recreating the table.
Insert Row Above
Add a new row above the selected row.
Insert Row Below
Add a new row below the selected row.
Insert Left
Add a new column to the left.
Insert Right
Add a new column to the right.
| Command | Purpose |
|---|---|
| Insert Above | Add a row above the selected row. |
| Insert Below | Add a row below the selected row. |
| Insert Left | Add a column on the left side. |
| Insert Right | Add a column on the right side. |
| Delete Row | Remove the selected row. |
| Delete Column | Remove the selected column. |
| Delete Table | Remove the entire table. |
Merging and Splitting Cells
Microsoft Word allows users to merge multiple cells into a single cell or split one cell into multiple rows and columns. These features are useful for creating professional tables, headings and complex layouts.
Merge Cells
Combine two or more selected cells into one larger cell.
Split Cells
Divide a single cell into multiple rows and columns.
Merge Header
Create a single heading across multiple columns.
Custom Layout
Design professional tables with flexible structures.
1. Select the required cells.

2. Open the Table Layout tab.

3. Click Merge Cells.

4. The selected cells become
a single larger cell.
Table Styles
Table Styles provide ready-made professional designs that instantly improve the appearance of tables. They include predefined colors, borders, fonts and shading.
Built-in Styles
Apply professional table designs with one click.
Color Themes
Match table colors with the document theme.
Banded Rows
Alternate row colors improve readability.
Header Row
Highlight column headings automatically.
| Style Feature | Description |
|---|---|
| Header Row | Applies special formatting to the first row. |
| Total Row | Highlights the last row for totals or summaries. |
| Banded Rows | Alternates row colors for better readability. |
| Banded Columns | Alternates column colors. |
| First Column | Emphasizes the first column. |
| Last Column | Highlights the last column. |
Borders and Shading
Borders and Shading help improve the appearance of tables by adding visible borders and background colors. They make tables attractive and easier to understand.
- Apply borders to the entire table or selected cells.
- Choose different border styles, colors and thickness.
- Use shading to highlight important information.
- Create professional-looking reports and invoices.
- Improve readability using contrasting colors.
Text Alignment in Tables
Text inside table cells can be aligned horizontally and vertically to create neat and professional layouts.
Left Align
Align text to the left side of the cell.
Center Align
Place text in the center of the cell.
Right Align
Align text to the right side of the cell.
Middle Align
Center text vertically inside the cell.
| Alignment | Purpose |
|---|---|
| Left | Default alignment for most text. |
| Center | Used for headings and titles. |
| Right | Useful for numbers and currency values. |
| Middle | Centers content vertically. |
AutoFit and Table Properties
The AutoFit feature automatically adjusts column widths according to the contents or the available page width. Table Properties allow you to control alignment, preferred width, row height, borders and text wrapping.
AutoFit Contents
Automatically adjusts column width according to the content inside each cell.
AutoFit Window
Expands the table to fit the width of the page.
Fixed Column Width
Maintains the same column width regardless of the content.
Table Properties
Customize table alignment, row height, column width and text wrapping.
| Property | Purpose |
|---|---|
| Preferred Width | Sets the overall width of the table. |
| Row Height | Defines the height of selected rows. |
| Column Width | Controls the width of individual columns. |
| Cell Margins | Adds spacing between cell borders and text. |
| Text Wrapping | Controls how surrounding text flows around the table. |
Sorting Data
Microsoft Word can sort table data alphabetically, numerically or by date. Sorting makes it easy to organize records such as names, marks, employee details and inventory lists.
Ascending
Sort data from A to Z or smallest to largest.
Descending
Sort data from Z to A or largest to smallest.
Numeric Sort
Arrange numbers in increasing or decreasing order.
Date Sort
Sort records based on chronological order.
1. Select the table.

2. Open the Table Layout tab.

3. Click Sort.

4. Choose the column.

5. Select Ascending or Descending.

6. Click OK.
Convert Text and Table
Microsoft Word allows users to convert text into a table and convert a table back into plain text. This feature saves time when organizing or restructuring information.
Text to Table
Convert selected text into a formatted table.
Table to Text
Convert an existing table into plain text separated by tabs or commas.
Quick Conversion
Organize large amounts of information within seconds.
Professional Documents
Useful for reports, invoices, lists and office documents.
1. Type the text using Tabs,
Commas or Paragraph marks.

2. Select the text.

3. Open the Insert tab.

4. Click Table.

5. Select Convert Text to Table.

6. Choose the separator.

7. Click OK.
Practical Examples
Name      English   Math   Science

Rahul     85        90      88

Priya     92        89      95

Amit      78        81      80
ID    Name        Department

101   Ayan        HR

102   Neha        Accounts

103   Rohan       IT
Product        Price

Keyboard       ₹850

Mouse          ₹450

Monitor        ₹9,500

Printer        ₹12,000
Working with Tables Keyboard Shortcuts
| Shortcut | Function |
|---|---|
| Tab | Move to the next cell. |
| Shift + Tab | Move to the previous cell. |
| Ctrl + Tab | Insert a Tab inside a cell. |
| Alt + Home | Move to the first cell in a row. |
| Alt + End | Move to the last cell in a row. |
| Alt + Page Up | Move to the first cell in a column. |
| Alt + Page Down | Move to the last cell in a column. |
Best Practices
- Use tables to organize information instead of multiple spaces.
- Keep table headings clear and descriptive.
- Use Header Row formatting for better readability.
- Apply consistent table styles throughout the document.
- Avoid overcrowding tables with unnecessary information.
- Use Merge Cells only when required.
- Use AutoFit to adjust column widths automatically.
- Apply borders and shading carefully for a professional appearance.
- Sort data whenever working with long lists.
- Preview the document before printing.
Conclusion
Working with Tables is an essential skill in Microsoft Word. Tables help organize information neatly using rows and columns, making documents easier to read and understand. By learning how to create tables, insert and delete rows and columns, merge and split cells, apply table styles, use borders and shading, align text, sort data and convert text into tables, users can prepare professional documents for schools, colleges, offices and businesses. Regular practice with table tools will help you create attractive, well-structured and print-ready documents quickly and efficiently.