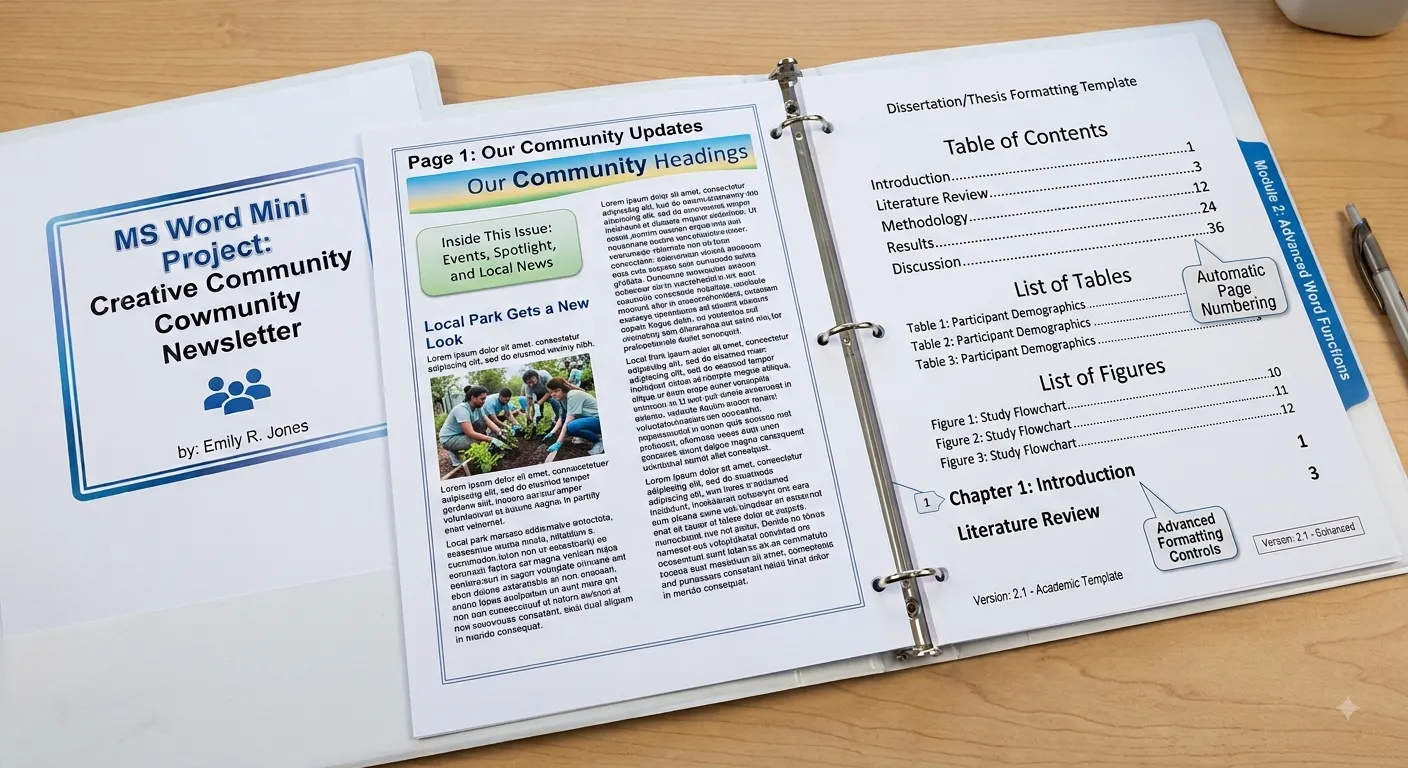
Mini Project
This mini project brings together the Microsoft Word skills covered throughout the previous chapters. You will create a complete professional document using text formatting, paragraph formatting, page setup, tables, images, headers, footers, page numbers, spell checking, comments, Track Changes and PDF export.
Project Objective
The objective of this project is to demonstrate that you can use Microsoft Word to create, format, review and finalize a complete document independently.
Create
Create a structured document from the beginning.
Format
Apply professional text and paragraph formatting.
Organize
Use tables, headings, images and page elements.
Finalize
Review, save, print or export the completed document.
Project Topic
For this mini project, create a document titled:
MICROSOFT WORD

A Guide to Digital
Document Creation

Mini Project Report
Project Requirements
The completed project should demonstrate the following Microsoft Word features:
| No. | Feature | Requirement |
|---|---|---|
| 01 | Document Creation | Create and save a new Word document. |
| 02 | Text Formatting | Apply appropriate font, size, bold, italic and underline formatting. |
| 03 | Paragraph Formatting | Use alignment, indentation, spacing and lists. |
| 04 | Page Setup | Set suitable margins, orientation and paper size. |
| 05 | Headings | Organize the document using clear headings and subheadings. |
| 06 | Table | Insert and format at least one table. |
| 07 | Image | Insert at least one relevant image. |
| 08 | Header & Footer | Add appropriate header and footer information. |
| 09 | Page Numbers | Insert page numbers. |
| 10 | Spell Check | Check the document for spelling and grammar errors. |
| 11 | Find & Replace | Use Find and Replace at least once. |
| 12 | Review | Use comments or Track Changes during the review stage. |
| 13 | PDF Export | Export the final document to PDF. |
Step 1 — Create the Document
Open Microsoft Word and create a new blank document. Save the document immediately using a meaningful file name.
Microsoft_Word_Mini_Project.docx
Saving the file at the beginning of the project makes it easier to save your work regularly as you continue editing.
Step 2 — Create the Title Page
Create a simple title page containing the project title and basic project information.
| Element | Suggested Content |
|---|---|
| Project Title | A Guide to Digital Document Creation |
| Document Type | Microsoft Word Mini Project |
| Prepared By | Student Name |
| Course | Microsoft Word |
| Institution | PBA Institute |
| Date | Current Date |
Step 3 — Add an Introduction
After the title page, create an introduction section explaining the importance of digital documents and Microsoft Word.
Introduction

Microsoft Word is a widely used word-processing
application for creating, editing, formatting and
sharing documents. It provides tools for working
with text, paragraphs, tables, images, page layouts,
headers, footers and many other document elements.

A well-designed Word document can present
information clearly and professionally. By using
appropriate formatting and organization techniques,
users can create documents suitable for academic,
personal and professional purposes.
Step 4 — Create the Main Sections
Create several sections to demonstrate your ability to organize a longer Word document. Use consistent heading styles for each section.
| Section | Suggested Content |
|---|---|
| 1 | Introduction |
| 2 | Importance of Microsoft Word |
| 3 | Major Features |
| 4 | Applications of Microsoft Word |
| 5 | Advantages |
| 6 | Conclusion |
Step 5 — Add the Importance Section
Add a section explaining why Microsoft Word is useful in academic, personal and professional environments.
Importance of Microsoft Word

Microsoft Word is useful for creating many
different types of documents. Students can use
it for assignments, reports, practical records
and project documentation.

Professionals can use Word to create letters,
reports, proposals, resumes, notices and other
business documents.

Its formatting and editing features allow users
to present information in a structured and
professional manner.
Step 6 — Create a Major Features Section
Create a list describing some of the major Microsoft Word features learned throughout the course.
- Creating and saving documents.
- Editing and formatting text.
- Paragraph alignment and spacing.
- Page setup and document layout.
- Tables and table formatting.
- Pictures, shapes and graphical elements.
- Headers, footers and page numbers.
- Spell Check and Grammar tools.
- Find and Replace.
- Mail Merge.
- Templates.
- Comments and Track Changes.
- Printing and PDF export.
- Keyboard shortcuts.
Step 7 — Insert a Feature Comparison Table
Insert a table containing examples of Word features and their uses. Apply appropriate formatting to the table.
| Feature | Purpose | Example Use |
|---|---|---|
| Text Formatting | Change the appearance of text. | Bold headings and important terms. |
| Paragraph Formatting | Control paragraph appearance and layout. | Alignment and spacing. |
| Tables | Organize information into rows and columns. | Marks, schedules or comparison data. |
| Images | Add visual information. | Illustrations and diagrams. |
| Mail Merge | Create multiple personalized documents. | Letters and labels. |
| Track Changes | Review document edits. | Collaborative document editing. |
| PDF Export | Create a portable final document. | Sharing a completed report. |
Step 8 — Insert an Image
Insert one relevant image into the document. The image could represent Microsoft Word, digital documents, word processing or office productivity.
Choose
Select a relevant and clear image.
Resize
Resize the image while maintaining its proportions.
Position
Place the image appropriately within the document.
Caption
Add a short caption when appropriate.
Step 9 — Add a Numbered Procedure
Demonstrate the use of numbered lists by creating a short procedure describing how to create a professional Word document.
1. Create a new document.

2. Save the document with
   a meaningful file name.

3. Create a clear structure
   using headings.

4. Enter the required content.

5. Apply consistent formatting.

6. Insert tables and images
   where necessary.

7. Add headers, footers and
   page numbers.

8. Check spelling and grammar.

9. Review the document.

10. Save and export the
    final version.
Step 10 — Add an Advantages Section
Create a section describing the advantages of Microsoft Word.
Easy Editing
Content can be edited and corrected without recreating the entire document.
Professional Formatting
A wide range of formatting tools can improve document presentation.
Flexible Content
Text, tables, images and other elements can be combined in one document.
Collaboration
Comments and Track Changes support document review and collaboration.
Step 11 — Apply Page Setup
Configure the document page settings so that the final document has a clean and professional layout.
| Setting | Suggested Choice |
|---|---|
| Paper Size | A4 |
| Orientation | Portrait |
| Margins | Normal or an appropriate custom margin |
| Page Color | White or another professional choice |
| Text Alignment | Use alignment appropriate to each section |
Step 12 — Format Headings and Body Text
Document Title
      ↓
Main Heading
      ↓
Subheading
      ↓
Body Paragraph
      ↓
Bulleted / Numbered List
      ↓
Table or Image
Use Word's built-in heading styles where appropriate. Keep the visual hierarchy consistent throughout the document.
Step 13 — Format the Table
Apply appropriate formatting to the feature comparison table. The table should be easy to read and should match the overall design of the document.
- Use a clear header row.
- Keep the column headings short and descriptive.
- Use consistent alignment within cells.
- Adjust column widths so the content is readable.
- Avoid unnecessary colors and decorative formatting.
- Make sure the table does not extend beyond the page margins.
Step 14 — Add Header and Footer
Add a simple header and footer to the document. This demonstrates your ability to manage repeated information across multiple pages.
| Element | Suggested Content |
|---|---|
| Header | Microsoft Word Mini Project |
| Footer | PBA Institute · Microsoft Word Series |
| Page Number | Insert an automatic page number. |
Step 15 — Insert Page Numbers
Insert page numbers into the document so readers can easily identify and navigate the pages.
Open Insert tab
        ↓
Select Page Number
        ↓
Choose a suitable position
        ↓
Select a simple style
        ↓
Review the page numbers
        ↓
Close Header and Footer
Step 16 — Check Spelling and Grammar
Review the entire document for spelling, grammar and punctuation errors. Use Word's spelling and grammar tools and also read the content manually.
| Check | Action |
|---|---|
| Spelling | Correct incorrectly spelled words. |
| Grammar | Review grammar suggestions. |
| Punctuation | Check full stops, commas and other punctuation. |
| Capitalization | Make headings and sentences consistent. |
| Content | Confirm that all required sections are complete. |
Step 17 — Demonstrate Find and Replace
Use Find and Replace to locate a repeated word or phrase in your project. Replace it with the desired wording and then review the document to ensure that the replacement was appropriate.
Find:
document

Replace with:
digital document

        ↓

Review all replacements
        ↓

Check the final text
Step 18 — Add a Comment
Select a suitable sentence or paragraph and add a comment. The comment can contain a suggestion about improving the content or formatting.
Comment:

"Review this paragraph and consider
adding an example to make the
explanation clearer."
Step 19 — Demonstrate Track Changes
Turn on Track Changes and make a small edit to one of the paragraphs. This demonstrates how changes can be recorded during document review.
Turn on Track Changes
        ↓
Edit a sentence
        ↓
Review the tracked change
        ↓
Accept or reject the change
        ↓
Turn off Track Changes
        ↓
Perform a final review
Step 20 — Use Keyboard Shortcuts
Use several keyboard shortcuts while completing the project. This demonstrates efficient document editing.
| Shortcut | Action |
|---|---|
| Ctrl + S | Save the project. |
| Ctrl + A | Select all content when required. |
| Ctrl + C | Copy selected content. |
| Ctrl + V | Paste content. |
| Ctrl + Z | Undo an unwanted action. |
| Ctrl + F | Find text in the document. |
| Ctrl + P | Open the Print screen. |
| F7 | Check spelling and grammar. |
Step 21 — Export the Project to PDF
After completing and reviewing the document, export it to PDF. Keep the original Word document so that it can be edited later if necessary.
Complete the document
        ↓
Save the Word file
        ↓
Proofread the document
        ↓
Review page layout
        ↓
Open Export / Save As
        ↓
Choose PDF
        ↓
Select the destination
        ↓
Save the PDF
        ↓
Open the PDF
        ↓
Check the final result
Step 22 — Review Print Layout
Before printing the project, open Print Preview and carefully inspect every page. Make sure no content is cut off or positioned incorrectly.
- Check the first and last page.
- Check page breaks.
- Check headers and footers.
- Check page numbers.
- Check tables and images.
- Check margins.
- Check for empty or unwanted pages.
- Confirm the correct number of copies and pages before printing.
Step 23 — Final Project Checklist
| Requirement | Completed |
|---|---|
| Document created and saved | ☐ |
| Title page completed | ☐ |
| Introduction added | ☐ |
| Sections and headings created | ☐ |
| Text formatting applied | ☐ |
| Paragraph formatting applied | ☐ |
| Table inserted and formatted | ☐ |
| Image inserted | ☐ |
| Header added | ☐ |
| Footer added | ☐ |
| Page numbers inserted | ☐ |
| Spelling and grammar checked | ☐ |
| Find and Replace demonstrated | ☐ |
| Comment added | ☐ |
| Track Changes demonstrated | ☐ |
| Keyboard shortcuts used | ☐ |
| Document reviewed | ☐ |
| Word document saved | ☐ |
| PDF exported | ☐ |
| PDF reviewed | ☐ |
Step 24 — Project Evaluation
Use the following evaluation criteria to check the quality of your completed mini project. The project should demonstrate both technical Word skills and good document design.
| Category | Marks | What to Check |
|---|---|---|
| Document Structure | 10 | Title page, sections and logical organization. |
| Text Formatting | 10 | Fonts, sizes, bold, italic, alignment and consistency. |
| Paragraph Formatting | 10 | Spacing, indentation, alignment and lists. |
| Tables | 10 | Correct insertion, formatting and readability. |
| Images | 5 | Relevant image, correct size and suitable placement. |
| Headers & Footers | 5 | Correct repeated information and page numbers. |
| Proofreading | 10 | Spelling, grammar and punctuation checks. |
| Review Features | 10 | Comments and Track Changes demonstrated. |
| Page Layout | 10 | Margins, page breaks, orientation and overall appearance. |
| PDF Export | 10 | Correctly exported and reviewed PDF. |
| Overall Presentation | 10 | Professional, readable and well-organized final document. |
Project Quality Levels
Basic
The required sections and basic formatting are present, but the document may need improvements in consistency and presentation.
Good
The document is organized, readable and demonstrates most of the required Word features correctly.
Excellent
The document is accurate, consistent, professional and demonstrates the Word features effectively.
Outstanding
The project is highly polished, visually balanced and carefully reviewed with excellent document organization.
Project Improvement Tips
- Keep the design consistent from the first page to the last page.
- Use the same heading hierarchy throughout the document.
- Avoid unnecessary fonts, colors and decorative effects.
- Keep sufficient white space between sections.
- Use tables when information is easier to understand in rows and columns.
- Use images only when they add value to the document.
- Check that images do not overlap text or extend beyond the margins.
- Use automatic page numbers instead of manually typing numbers.
- Review all comments and tracked changes before creating the final version.
- Always open the exported PDF and inspect it before submitting or sharing it.
Step 25 — Organize the Project Files
Keep the project files in an organized folder. This makes the project easier to locate, update and submit.
Microsoft_Word_Mini_Project/
│
├── Microsoft_Word_Mini_Project.docx
│
├── Microsoft_Word_Mini_Project.pdf
│
├── Images/
│   └── project-image.jpg
│
└── Backup/
    └── Microsoft_Word_Mini_Project_Backup.docx
Step 26 — Create a Backup
Before submitting the project, create a backup copy of the Word document. Keep the backup in a separate location from the main working file when possible.
| Version | Suggested Name |
|---|---|
| Working File | Microsoft_Word_Mini_Project.docx |
| Backup File | Microsoft_Word_Mini_Project_Backup.docx |
| Final PDF | Microsoft_Word_Mini_Project.pdf |
Step 27 — Final Self-Review
Read the complete document as if you were the person receiving it for the first time. Do not only check individual sections. Review the document as one complete piece of work.
Is the title clear?
        ↓
Are all required sections present?
        ↓
Is the formatting consistent?
        ↓
Are headings easy to identify?
        ↓
Are tables readable?
        ↓
Are images correctly positioned?
        ↓
Are page numbers correct?
        ↓
Are headers and footers correct?
        ↓
Are spelling and grammar errors fixed?
        ↓
Have comments been reviewed?
        ↓
Have tracked changes been resolved?
        ↓
Does the PDF look correct?
        ↓
Is the project ready for submission?
Step 28 — Prepare the Project for Submission
Once the project has passed the final review, prepare the required files for submission. Follow the instructions provided by your teacher, institution or organization regarding file format and naming.
| Item | Submission Check |
|---|---|
| Word Document | ☐ Final DOCX file is present. |
| PDF Document | ☐ Final PDF file is present. |
| File Names | ☐ Names are clear and appropriate. |
| Content | ☐ All required project sections are complete. |
| Formatting | ☐ Formatting is consistent. |
| Final Review | ☐ Document has been reviewed before submission. |
Complete Project Workflow
CREATE
  ↓
SAVE
  ↓
PLAN
  ↓
ADD CONTENT
  ↓
FORMAT
  ↓
ADD TABLES & IMAGES
  ↓
ADD HEADER & FOOTER
  ↓
ADD PAGE NUMBERS
  ↓
SPELL & GRAMMAR CHECK
  ↓
FIND & REPLACE
  ↓
COMMENTS
  ↓
TRACK CHANGES
  ↓
FINAL REVIEW
  ↓
SAVE DOCX
  ↓
EXPORT PDF
  ↓
CHECK PDF
  ↓
BACKUP
  ↓
SUBMIT
Skills Demonstrated
By completing this mini project, you have demonstrated the ability to combine individual Microsoft Word features into one complete document.
Document Creation
Create and organize a complete Word document.
Formatting
Apply professional text and paragraph formatting.
Tables
Present structured information using tables.
Graphics
Insert and position relevant images.
Page Management
Use headers, footers and page numbers effectively.
Editing
Use spelling, grammar and Find and Replace tools.
Review
Use comments and Track Changes during document review.
PDF Export
Create and verify a final PDF version.
Mini Project Completion
Congratulations! You have completed the Microsoft Word Mini Project. This project combines the major skills covered throughout the Microsoft Word chapter series and provides practical experience in creating a complete professional document.
The most important goal is not simply to create a document, but to develop a reliable workflow: plan → create → format → review → finalize → export → verify. This workflow can be applied to assignments, reports, resumes, project documentation, office documents and many other real-world tasks.
Final Takeaways
- A professional document starts with proper planning and organization.
- Consistent formatting makes documents easier to read.
- Tables and images should support the information rather than distract from it.
- Headers, footers and page numbers improve document navigation.
- Spelling and grammar checks should be performed before finalizing a document.
- Comments and Track Changes are useful during collaborative review.
- The original DOCX file should be preserved for future editing.
- The exported PDF should always be checked before submission.
- Meaningful file names and organized folders make project management easier.
- Regular backups help protect important work.
Microsoft Word Series Complete
Learn the Interface
        ↓
Create Documents
        ↓
Edit Text
        ↓
Format Content
        ↓
Work with Tables
        ↓
Insert Images & Shapes
        ↓
Use Headers & Footers
        ↓
Add Page Numbers
        ↓
Check Spelling & Grammar
        ↓
Find & Replace
        ↓
Use Mail Merge
        ↓
Work with Templates
        ↓
Review Documents
        ↓
Print Documents
        ↓
Export to PDF
        ↓
Use Keyboard Shortcuts
        ↓
Follow Best Practices
        ↓
Complete the Mini Project
        ↓
READY TO CREATE
PROFESSIONAL DOCUMENTS
Previous Chapter
Return to Microsoft Word
You can return to the Microsoft Word chapter list to revise any topic, repeat a practical exercise or review the features used in this mini project.